To immortalize a game sequence on your PlayStation 5 console (PS5), you have the possibility to take a screenshot orrecord video clip. To do this, several solutions are available to you. In this article, we will see together the different methods for take a screenshot or video clip on your PS5. Follow the leader !
Table of Contents
Take a screenshot or record a video clip on your PS5
The PlayStation 5 DualSense controller has a “Creation” button located at the top left that opens the creation menu. From there, you can take screenshots and record your in-game footage. You can also view your recent screenshots and video clips.
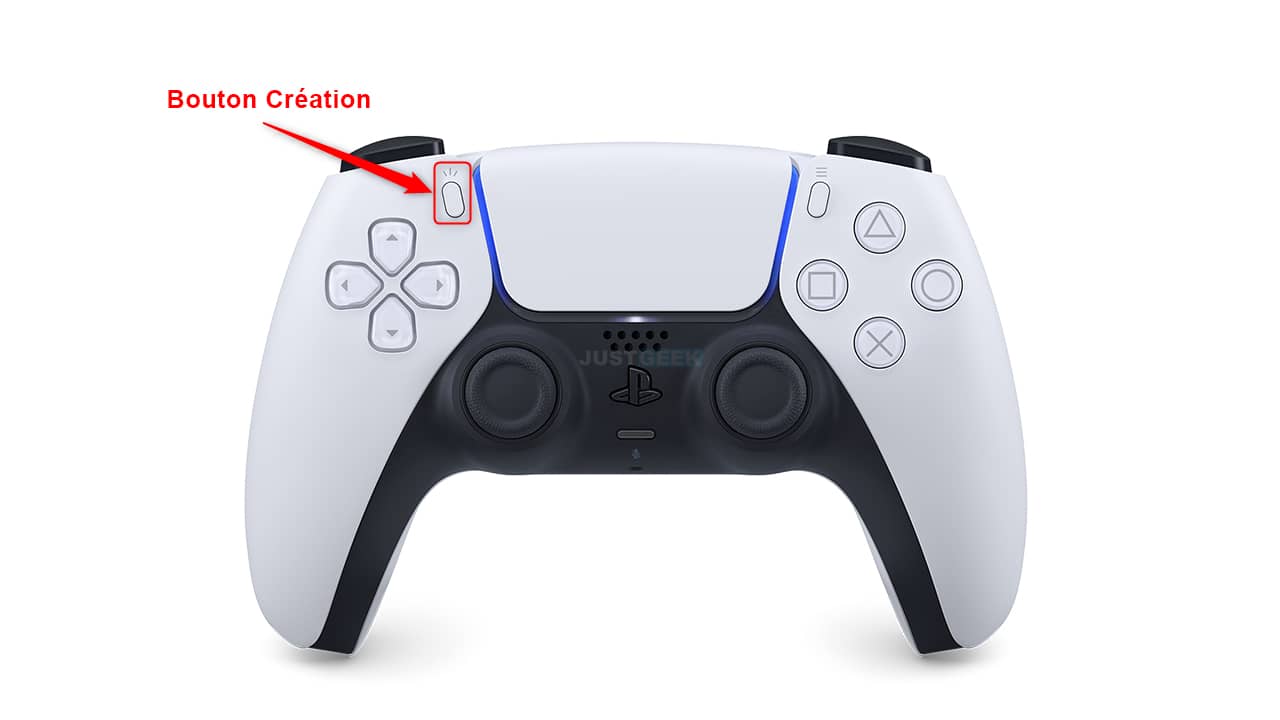
When you press the “Create” button on the PS5 DualSense controller, you have several options:
- Take a screenshot
- Start a new recording (video clip)
- Save recent gameplay
- Diffusion : Start the live broadcast (stream) on Twitch or YouTube.
- Capture options : You can choose the file type of the screenshot (JPG or PNG), the resolution of the recording, embed microphone audio and even embed voice chat audio in video clips.
- Recent screenshots and video clips (at least the last 15 seconds and at most the last hour of play)
In addition, you also have the possibility to make a quick screenshot by holding down the “Create” button for about 2 seconds.
Access screenshots and video clips on your PS5
If you want to view all your screenshots and video clips, I invite you to follow these few steps:
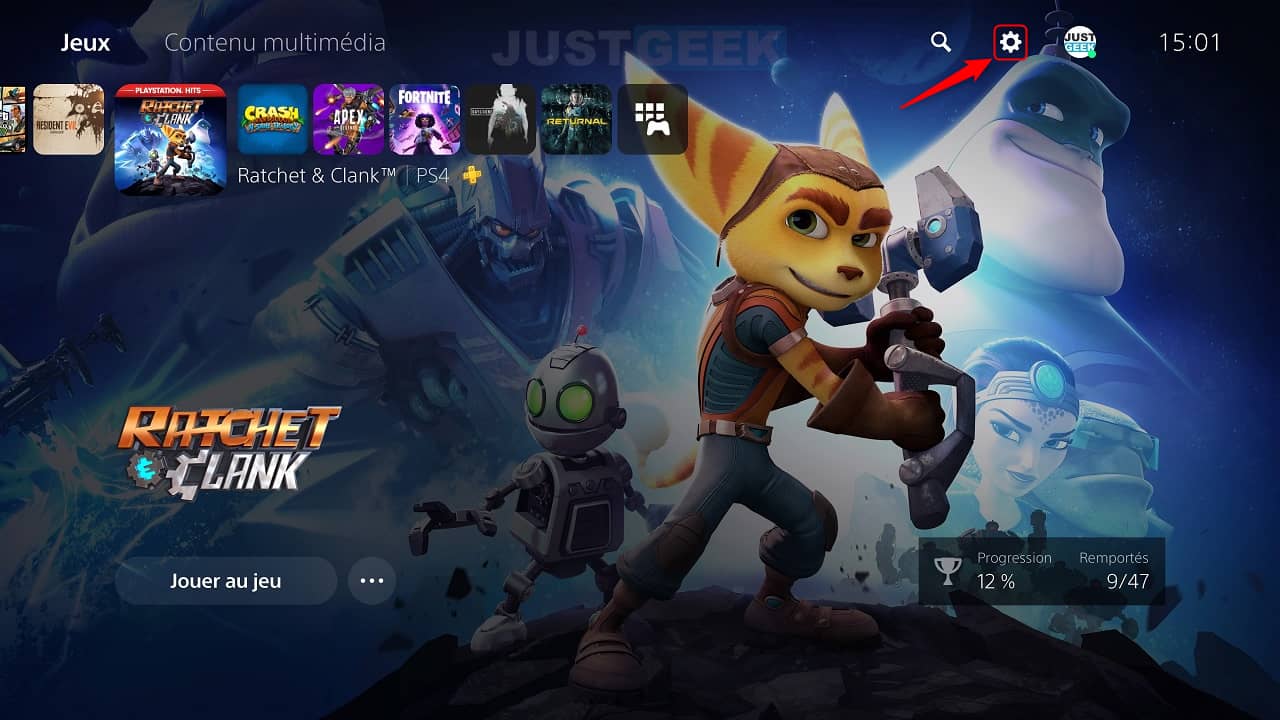
1. See you in the settings of your PS5 console.
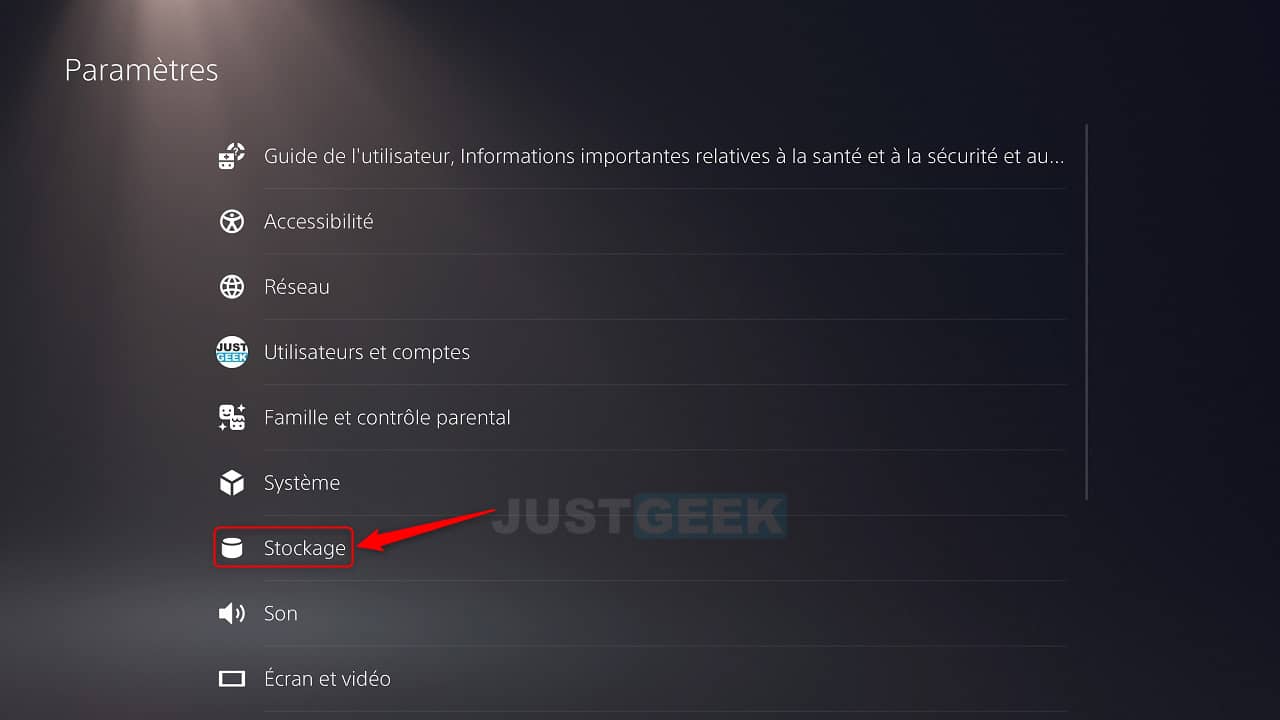
2. Then go to the menu ” Storage “.
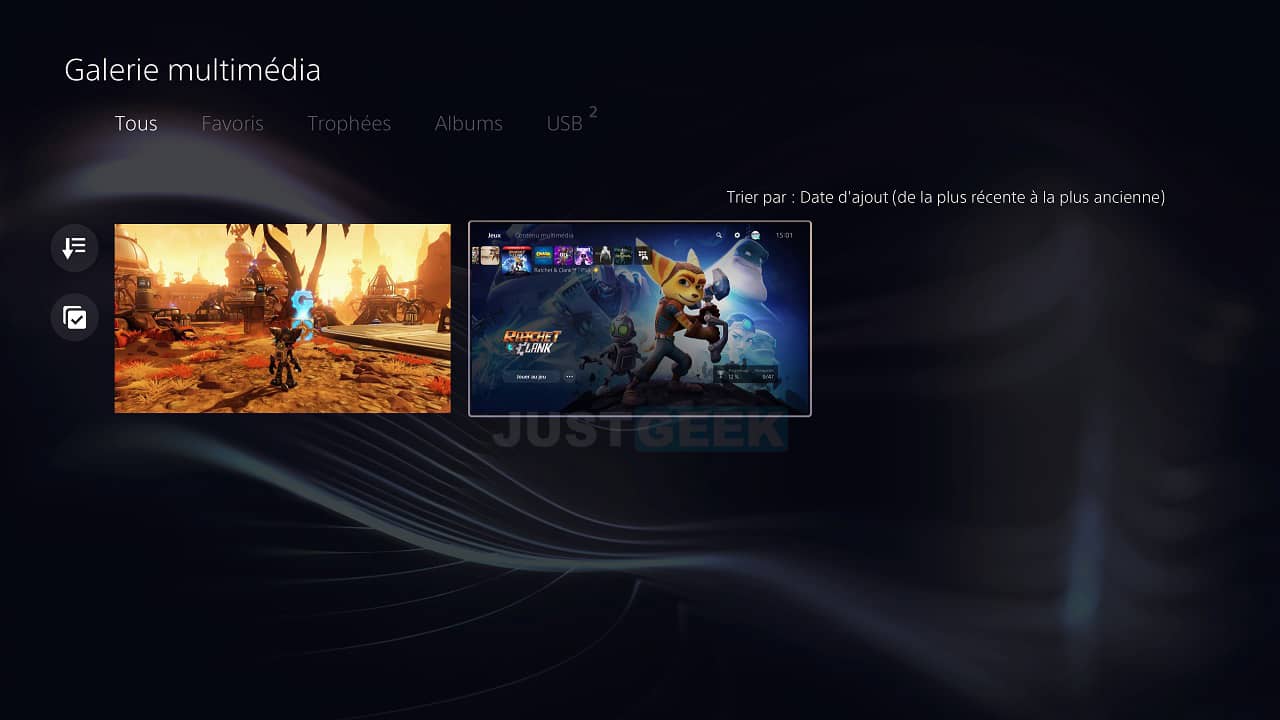
3. In ” Console storage “, click on ” Multimedia gallery “.
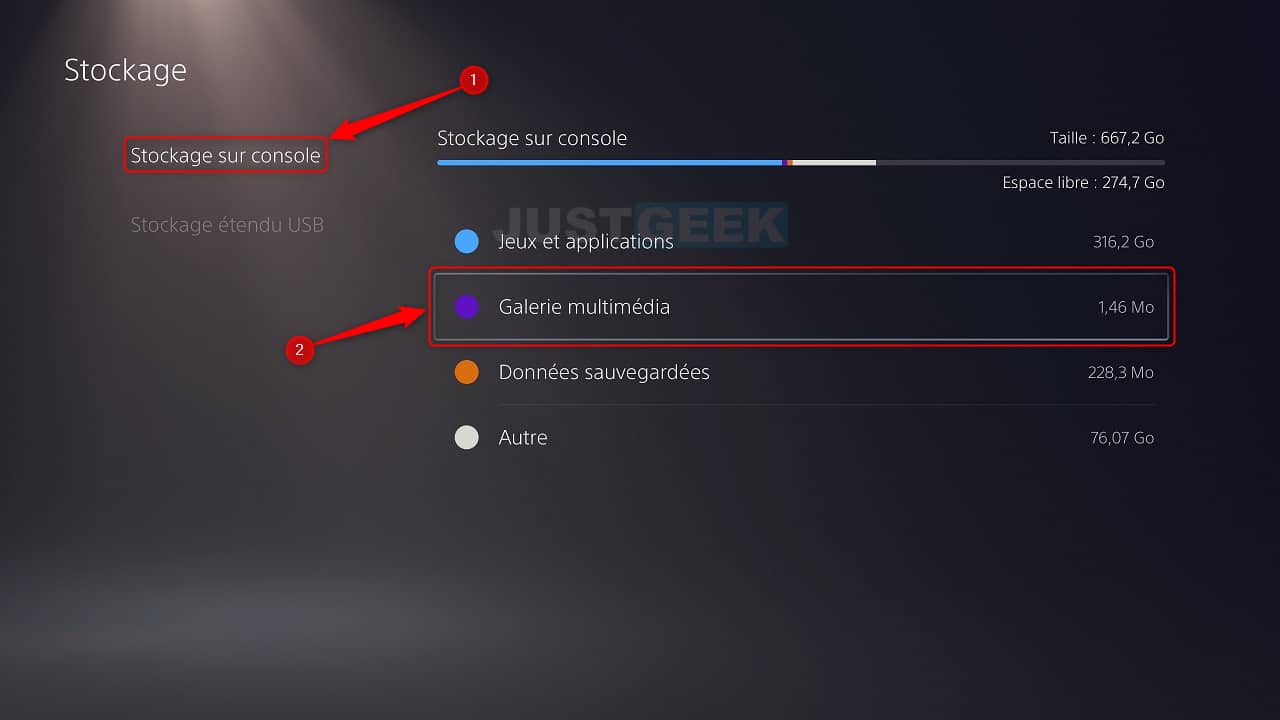
4. You are now in the multimedia gallery of your PS5. From here you will find all your screenshots and video clips that you have saved.
Now if you wish copy your screenshots and video clips to a USB stick to transfer them to your computer, I invite you to read my article dedicated to this subject.


