It is common that when talking about editing images or photos we associate it with our always reliable Photoshop. However, few know of Lightroom, an Adobe program that has become the favorite of photographers, since, unlike Photoshop, Lightroom specializes in editing, retouching and post-production of digital pieces such as photographs.
In addition, it has a friendly and modern interface, and weighs much less. If you are starting in the world of photography, here we tell you the step by step to start editing photos in Lightroom.
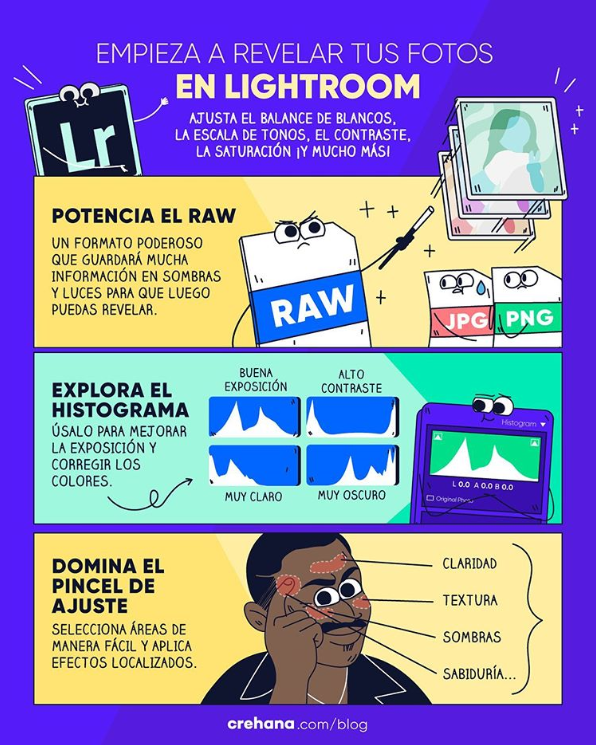
Table of Contents
Discover the full power of Lightroom in this course
Steps
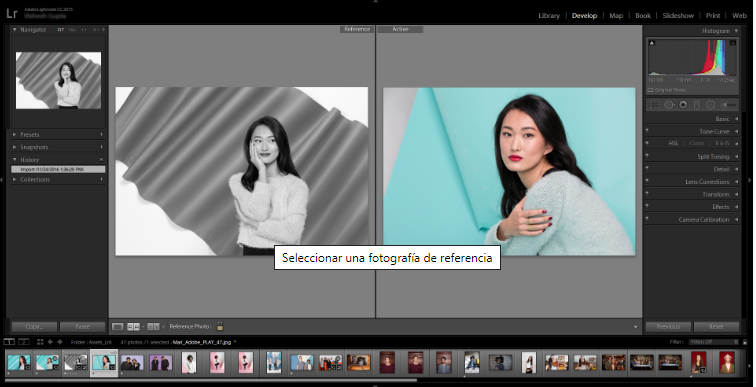
1. Select the photo to edit
Go to the library module to select the photo you want to process. Click on “develop module”.
(Image: Adobe)
2. Do not forget the RAW
This is a file that allows saving unpublished and detailed information of the images. It is a powerful format that will save a lot of information in shadows and highlights so you can later reveal.
(Image: Adobe)
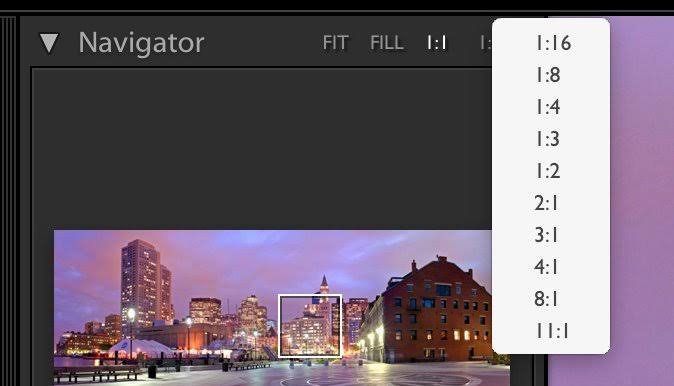
3. Review the photo in detail
Use the “Zoom” controls to see the detail of the photo. Explore the “Histogram panel” to see if it has adequate brightness and preview the shadow trimming.
(Image: Adobe)
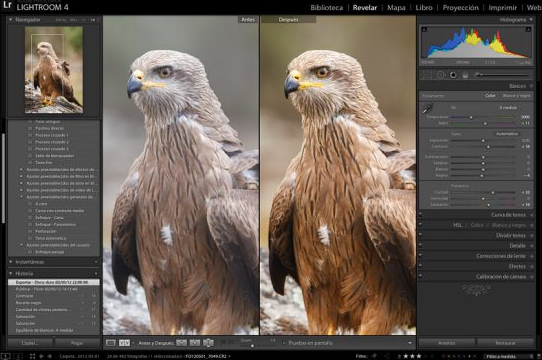
4. Give them some color adjustments
You can adjust the white balance, tonal scale and color saturation of a photo, in addition to the intensity, texture and clarity.
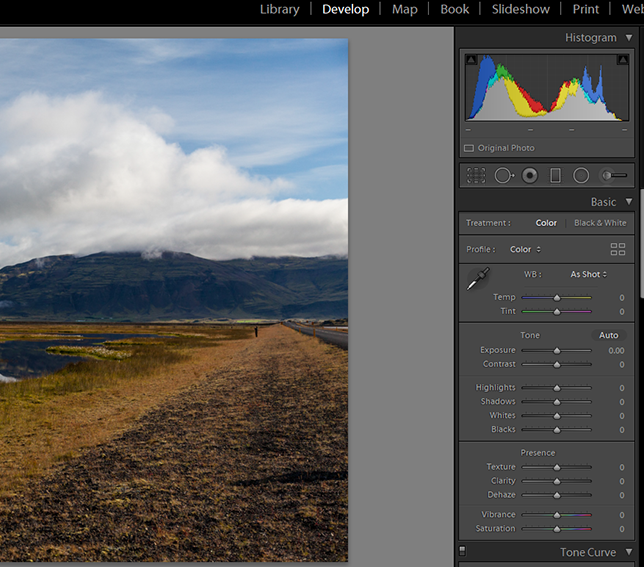
(Image: Adobe)
5. Lower the noise and balance the sharpness
To reduce noise – variations in brightness or color – and adjust the sharpness of the photo it is important to use the “Detail panel”.
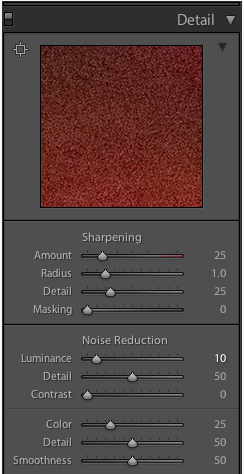
(Image: Adobe)
6. Correct effects
Using the tools of “overlapping clipping” can correct imperfections that are very visible as known: red eyes, spots, scars and more.
7. Master the adjustment brush
The adjustment brush is a tool used to apply effects to selections and automates the selection of some areas that are similar. You can change the clarity, texture and shadows of those areas.
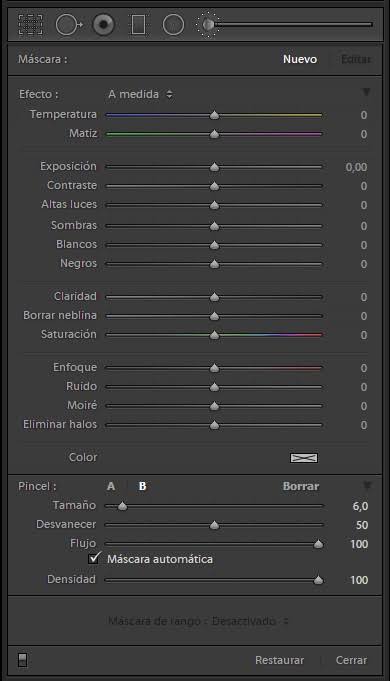
(Image: Adobe)
8. Images in test mode
When you have everything ready and you are satisfied with your photos, go to the test box option. Locate the “Profile and Purpose” menus to preview what you are going to print.
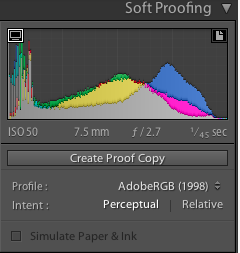
(Image: Adobe)
At first it can make you dizzy, but when you grab practice, you will master this art and everyone will ask for your help. So start with travel photos or events and we assure you that it will fascinate you.


