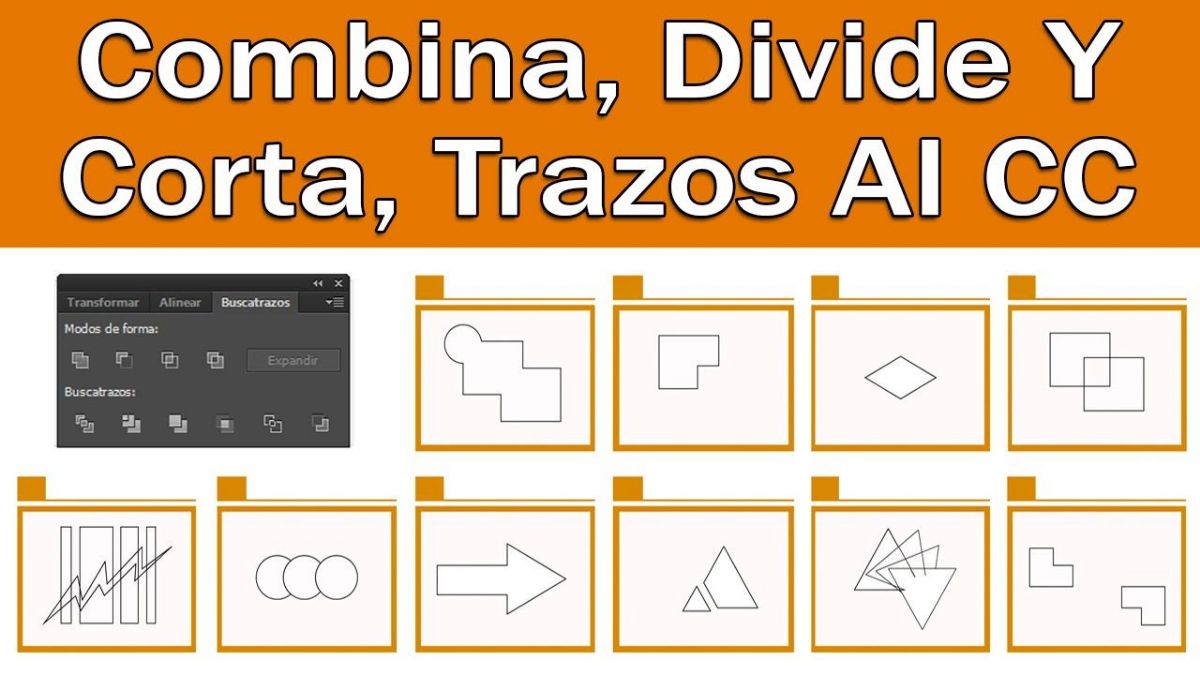
Illustrator is one of the most used programs by graphic designers due to the multiple functions and features it has. One of them, the Pathfinder, is perhaps one of the best known by them, especially in the case of working with vectors.
If you are starting in the world of graphic design and want to know a little more about how Pathfinder works in Illustrator, here we are going to talk about it and give you examples of how it works and what you are going to get with it.
Table of Contents
What is the Pathfinder in Illustrator
The Pathfinder is actually a tool that is part of the Adobe Illustrator program. It is focused on creating new figures, based on an original one or one that you create. To do this, use buttons such as the combination, addiction, delete funds, etc. to get new ways. In fact, it is the most used to create vectors, but in reality you could apply it to any type of image.
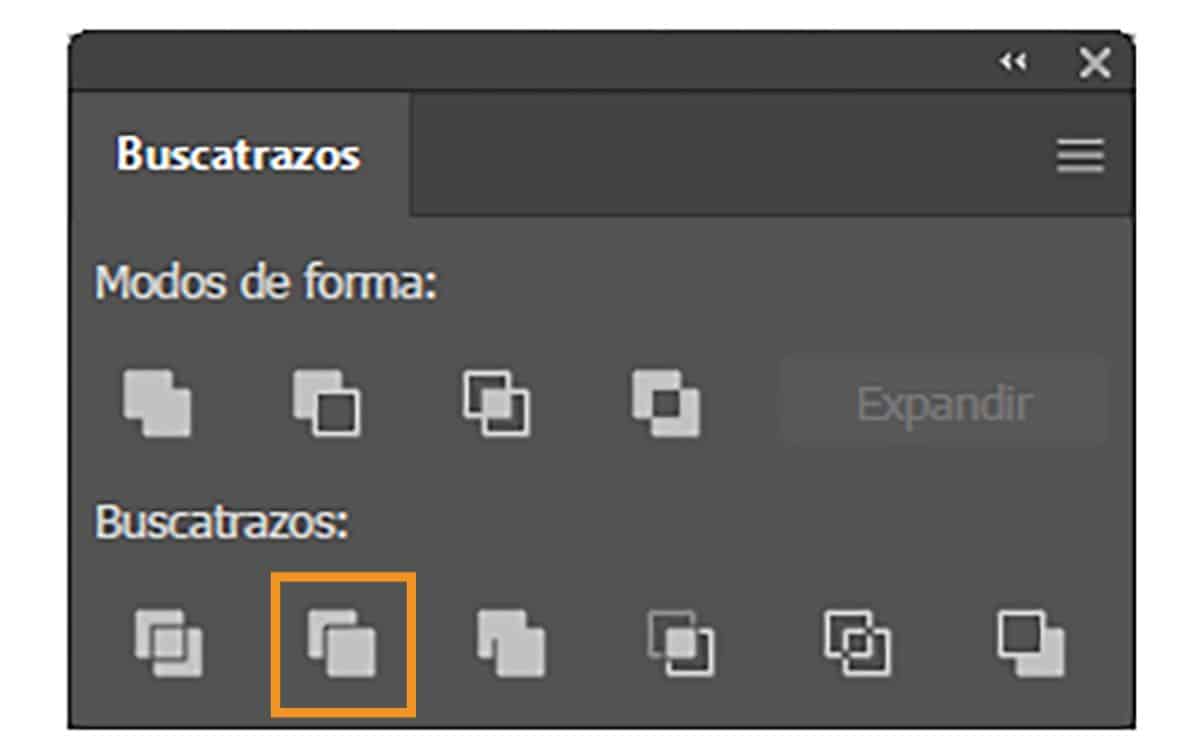
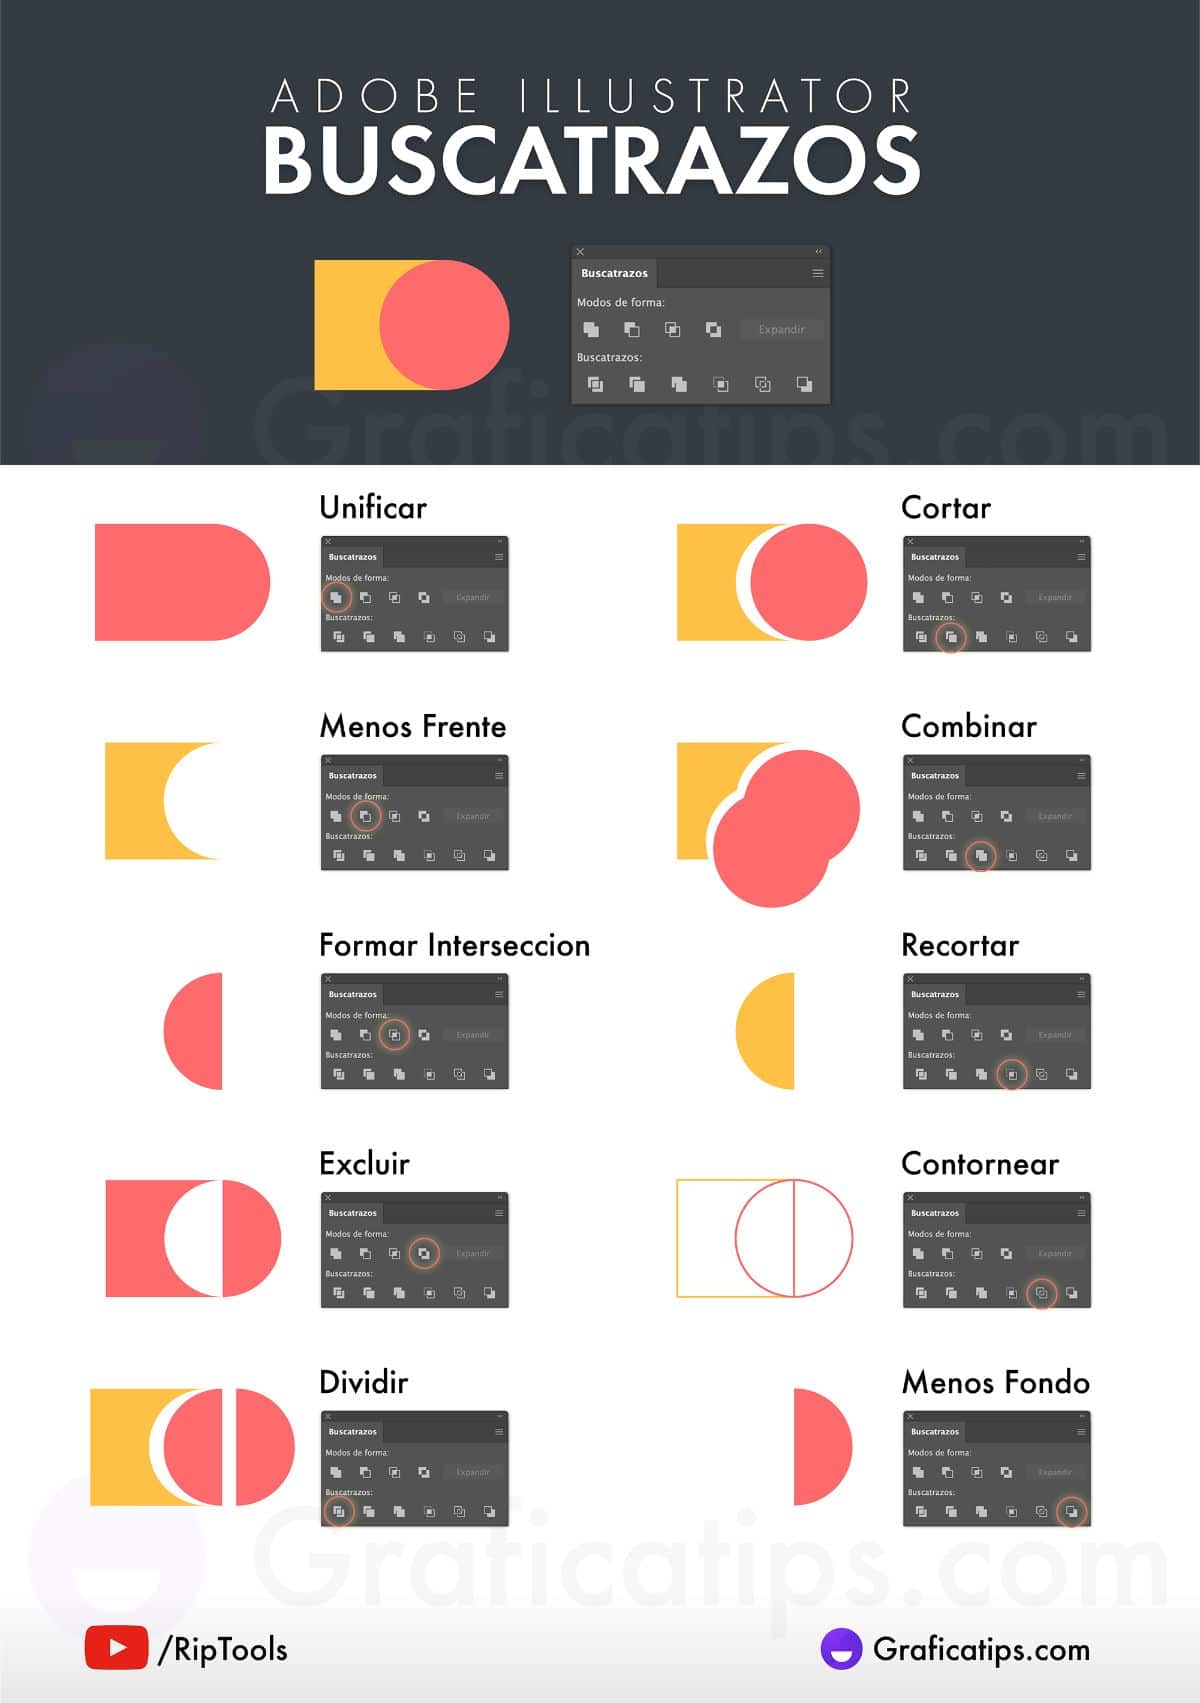
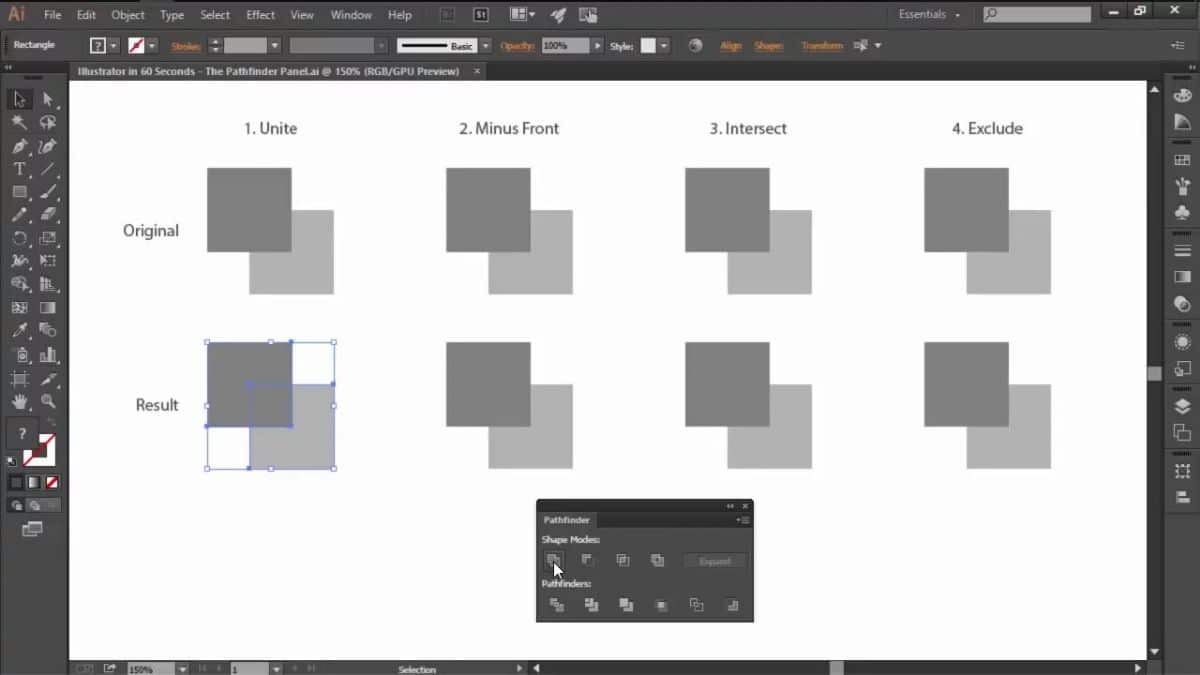
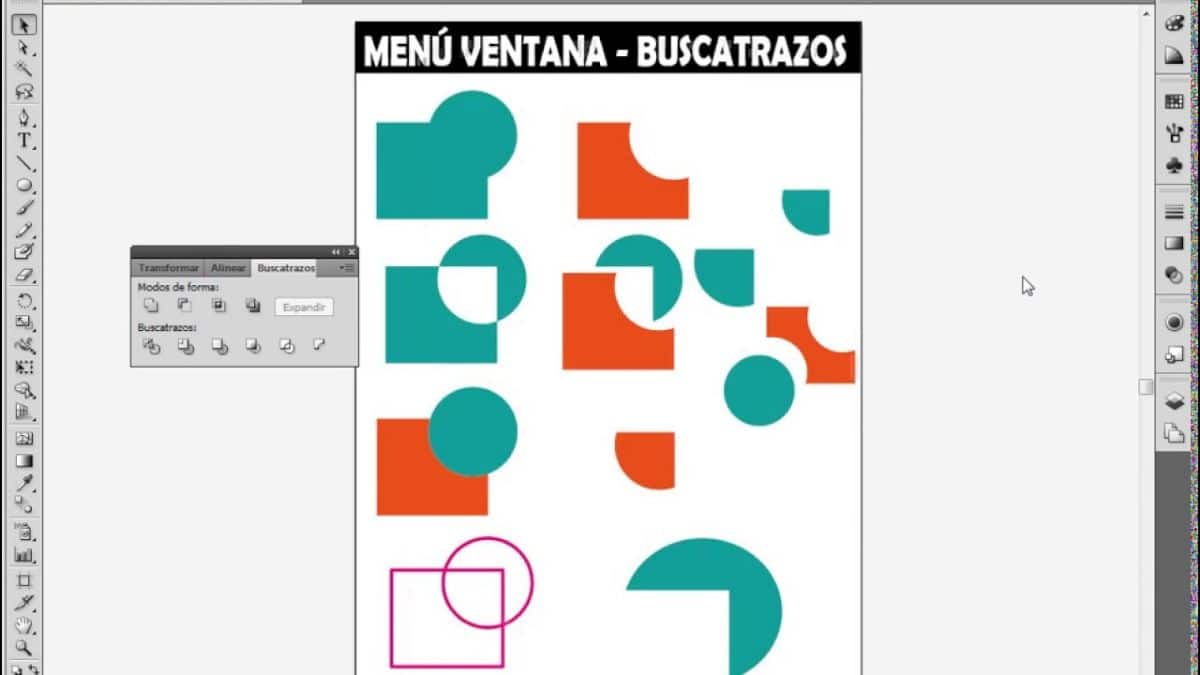
Within the program, the pathfinder section has two rows. In the first you will find four symbols, which are the shape modes, join / add, minus front / subtract, insert and exclude. And the following icons on the second line correspond to what the functions are: split, cut, combine, trim, less background and outline.
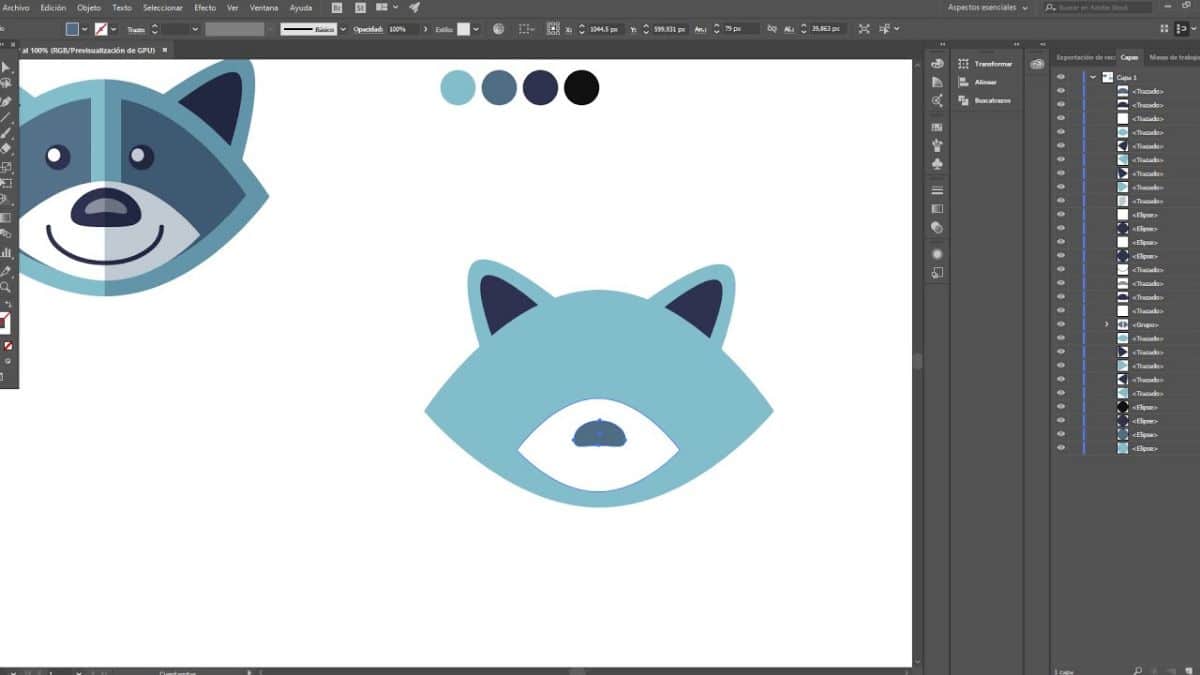
One of the best examples that we can give you and that would be done with the pathfinder can be a collage. This is made up of several images that are superimposed and are even cut out in a certain way, keeping the images that compose it within it.
What is Illustrator’s Pathfinder for?
Now that you know what Illustrator’s Pathfinder is, perhaps the next question you can ask yourself is about its functions, that is, what this tool can help you improve in your designs. And specifically, what you will be able to do with it are several things, among them:
Divide. That is, you will be able to cut the drawing into the pieces you want, in such a way that you can separate them without affecting the rest of the shapes. For example, because you want to change the color only to a part of the figure and not to all.
Cut, trim and combine. In this case we are talking about three tools. Cutting refers to removing part of that drawing that you are working with. On the other hand, combining, allows you to join several objects or drawings that you need to form a whole. And the cropping tool works, as its name suggests, to cut part of the drawing so that they are not in the final result.
Contour. The Stroke tool is very similar to the Divide tool, but in this case it does so by independent segments.
Less background. Imagine that you have an image with a lot of background, and you don’t need that much. Well, that’s what this tool takes care of, removing the excess background that is behind, above and in front of the figure you want to preserve.
The Pathfinder Buttons
In addition to what you can use it for, you should know a little more about Illustrator’s pathfinder. Therefore, we explain below what the buttons of this tool would be. Actually, there would be four:
- Add and Unify. It is a function that makes it possible to include new objects and, in the case of unifying it, what it does is that the two objects become one.
- Less front. What it does is remove what is in front of the object and at the bottom of it.
- Less background. What it does is remove, unlike the previous one, which is in front of the object, what is behind it and at the top.
- Form an intersection, that is, you would create a new object with the part where the two figures (or more) overlap, eliminating everything that is not touched.
- Exclude. Do you remember the previous button? Well, here you are going to do the opposite, what is eliminated are the areas that overlap, but the rest remains.
How Illustrator’s Pathfinder works
Now that you know everything you can do, you will most likely want to try it with an object, image, photograph … First of all, you must be patient as it is not an easy tool to use, and at first it may be difficult to give with the result you expect. However, with perseverance you can achieve it.
To begin with, you must understand that this tool is “exclusive”, so to speak, of Illustrator, that is, of the program in which you find it. There are other programs that may have similar tools, but they will not be the same as what we mean.
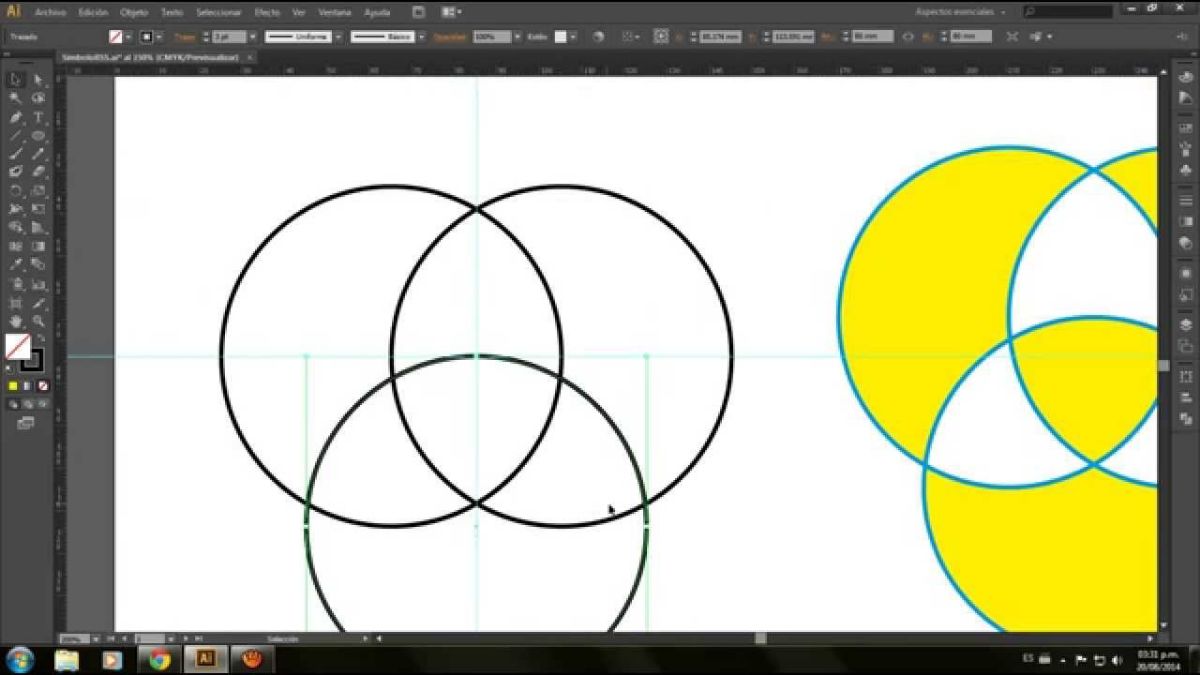
The first thing you should do is open the image, or images, with which you want to work. We recommend that you join them in the same image to work on them, if they are several, or on one.
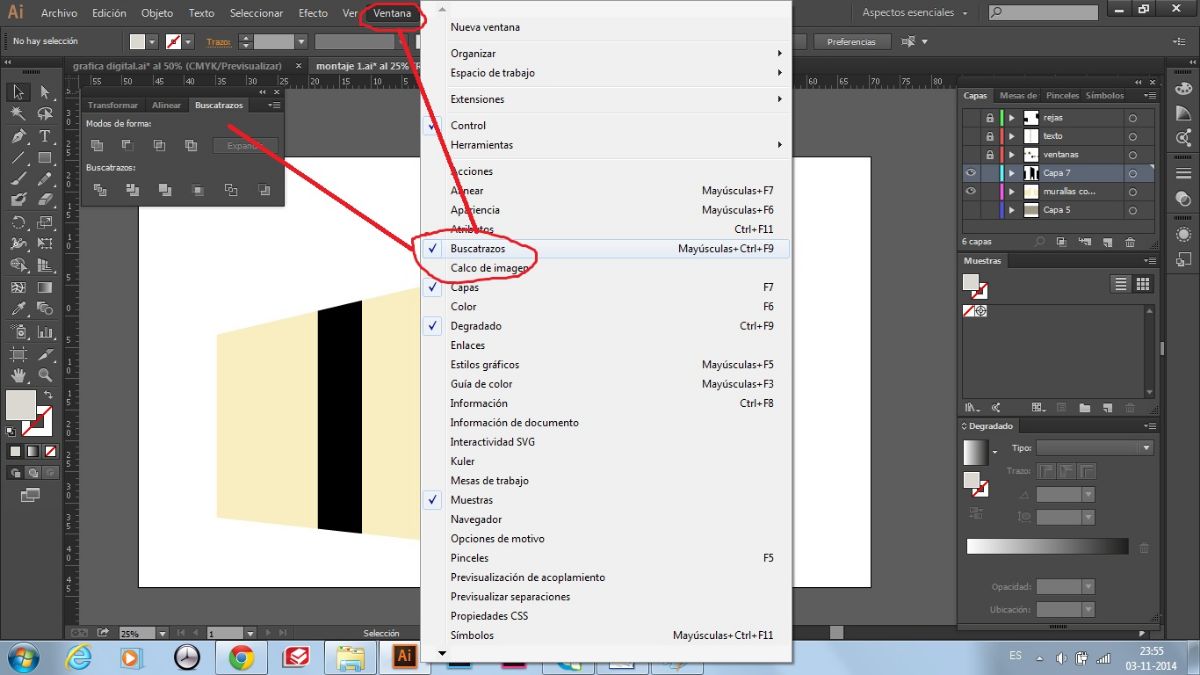
You will find the pathfinder tool because it is in the Window – Pathfinder part. Although you can also “call” it with the Control + Shift + F9 keys. This will open a menu in the panel where you will have the different options of the pathfinder (Precision, Remove redundant points and that the divide and contour commands eliminate illustrations without ink). You can configure it as you prefer. But if it is not clear to you what each of these options is for, we will explain it to you:
- Precision: Precision will allow us to have a more or less precise plot. That is, it shows more or less. Therefore, you can take it from 0.001 to 100 points, depending on what you need in each project.
- Remove redundant points: In the case of this option, it is used to leave the points that overlap between different figures or to eliminate them, so that the drawing flows more.
- Divide and outline commands remove illustrations without ink: The last option refers to the possibility of eliminating those objects that do not have a fill or stroke.
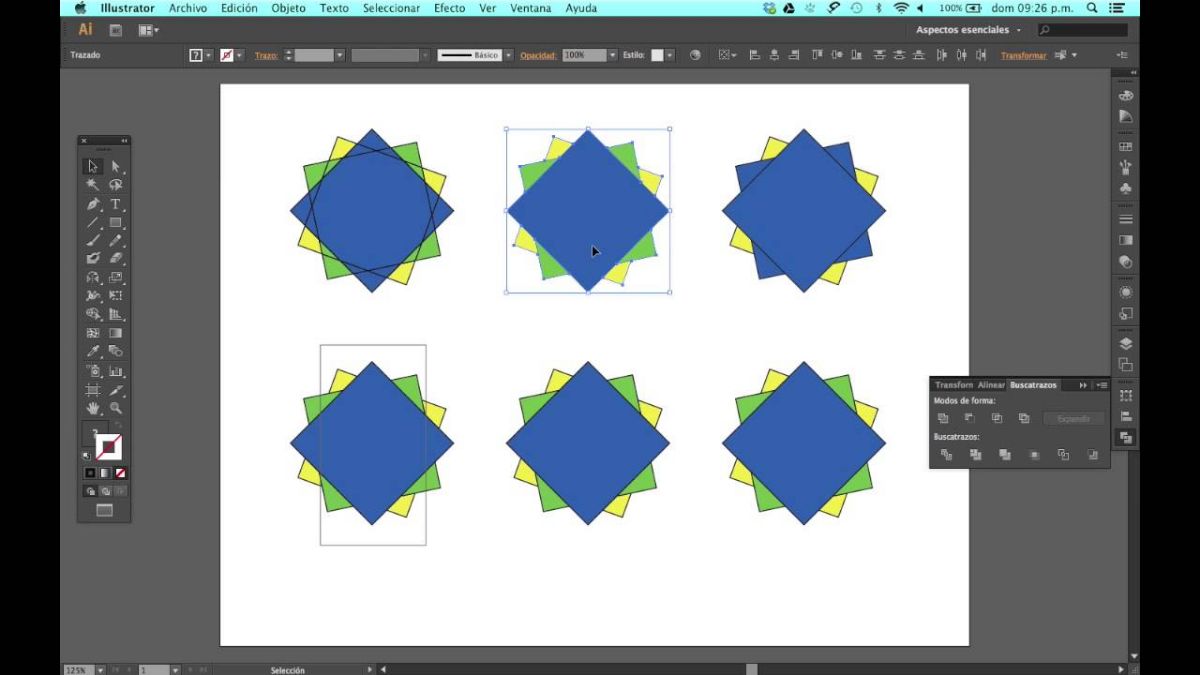
Once you have finished placing everything as you prefer, it will be time to use the different buttons of the tool to design your project. In this case, we recommend that you make several copies of your design in order to see how it looks with different results.


