home
>
Blog
>
Design
>
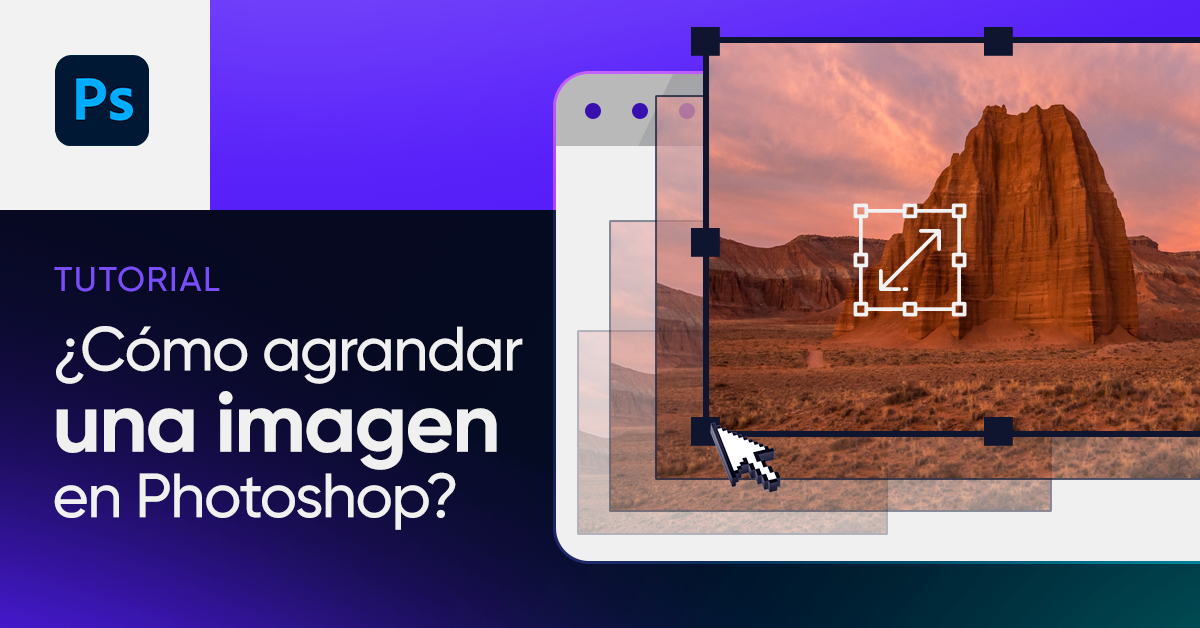
How to enlarge an image in Photoshop? We show it to you with two simple techniques
How to enlarge an image …
If you are not familiar with the world of graphic design or digital publishing, but need to make some specific visual adjustments for a presentation or a job. Quiet! With this article you will learn how to enlarge an image in Photoshop through two quick and easy ways. Stay tuned for all the advice we have for you.
The trick is to know the simplest Photoshop techniques, in order to detect which option is best incorporated into your editing style. We will explain step by step the alternatives you have to change the dimensions of an image, one from the menu bar and one from the toolbar.
Ready to start?
👉 To learn how to enlarge an image in Photoshop, go to point 3.
Index
- What is Photoshop?
- Why use Photoshop to enlarge an image?
- How to enlarge an image in Photoshop from the menu bar?
- How to enlarge an image in Photoshop from the toolbar?
- How to enlarge an image in Photoshop without deforming?
- How to enlarge an image in Photoshop without losing quality?
- Other uses of Photoshop
- Some Photoshop Tips for Beginners
Before starting, it is important to know the tool that will help you complete this function. What is Photoshop? This is Adobe software that allows you to edit images through a wide range of tools. With any of this program you will be able to make photomontages, cut hair and even vectorize a photograph.
When it comes to Photoshop, the editing possibilities are endless with the help of your creativity. However, you can also use it for simpler tasks like changing dimensions of an image and here we will show you how to do it.
It is important to note that the Adobe suite offers the quintessential options for design and editing themes, in programs such as Illustrator, Indesign, and Photoshop. However, of these three, the best software for working with photos is definitely Adobe Photoshop.
When using Photoshop you will see that this program offers you very simple functionalities to change the dimensions of an image. We will show you two alternatives, from the menu bar and the toolbar. We advise you to try both to find the one that is most comfortable for you when editing.
Has it happened to you that you are doing a job and you are surprised that your image is not large enough for your composition? Finding a solution to this problem is very simple, you will only have to use Photoshop to get the size you are looking for.
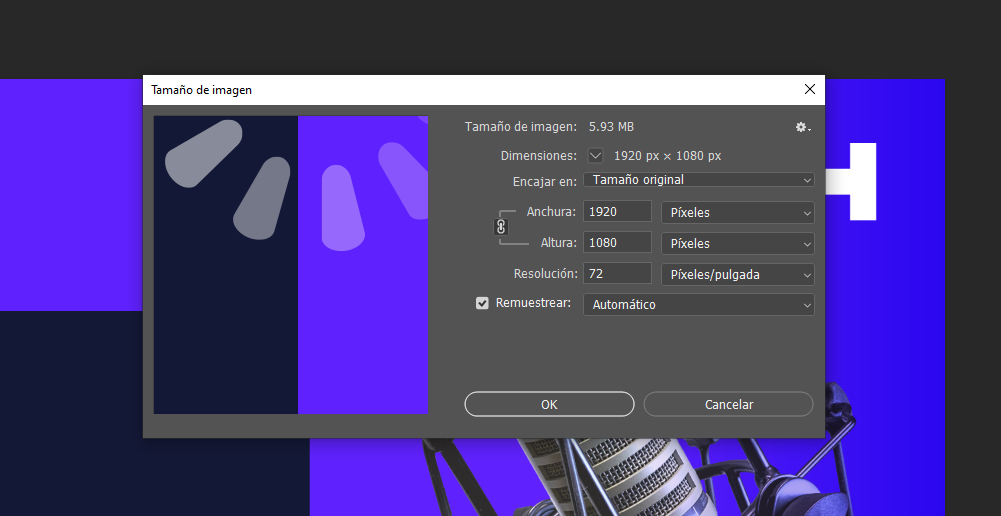
To change the dimensions of an image, you will have to follow the following steps in Photoshop.
- First, open your image in the Adobe program.
- Go to Image in the menu bar and select Image size.
- Then increase the number corresponding to Width and you will see that the dimension of Height adjusts automatically.
- Finally, click Ok.
(Image: Crehana)
Some considerations to keep in mind
When using this Photoshop functionality, remember to have the box that links the image dimensions checked. Otherwise, what will happen is that your image will only change in relation to the width and not the height, or the opposite.
As for the number of resolution, the ideal is that it is higher than 200. However, if it is for printing, it is recommended that it be 300 pixels / inch. Keep these recommendations in mind to obtain the best results in your composition.
That’s all! Easy enough, isn’t it? That’s because you haven’t seen the other alternative we have for you yet.

What if you don’t have the exact size in mind? In this post we will show you another Photoshop tool that you need to know to make a resize.
With this option you will learn how to enlarge an image in Photoshop with just three clicks. Seriously! Only three. These are the steps you must follow in the program.
- First, click on the Move tool (or you can mark the letter V on your keyboard)
- Then, you will have to drag the image from the corners to enlarge the image to the size you want.
- Finally, click on the check at the top.

(Image: Crehana)
Did you manage to change the dimensions of your image, but noticed that it was only applied on one side? No problem, the solution to this problem is quite simple and you will only have to activate a small button so that it does not happen again with any other image (or, at least, not by accident).
When you are enlarging your image from the menu bar, check the option Constrain proportions, the button that looks like a chain. If you make sure that this tool is activated, you will be able to maintain the proportion of your image and it will not suffer distortions.
If you are working with the Move tool on the toolbar, what you will have to do is hold down the Shift key while dragging the layer from a corner. You will find that you will enlarge the layer both in height and width. You will see that it is very simple!
If you are going to present an image in your composition, you should make sure that it looks its best. That is why you must take into account the resolution of the image when making these changes in the program.
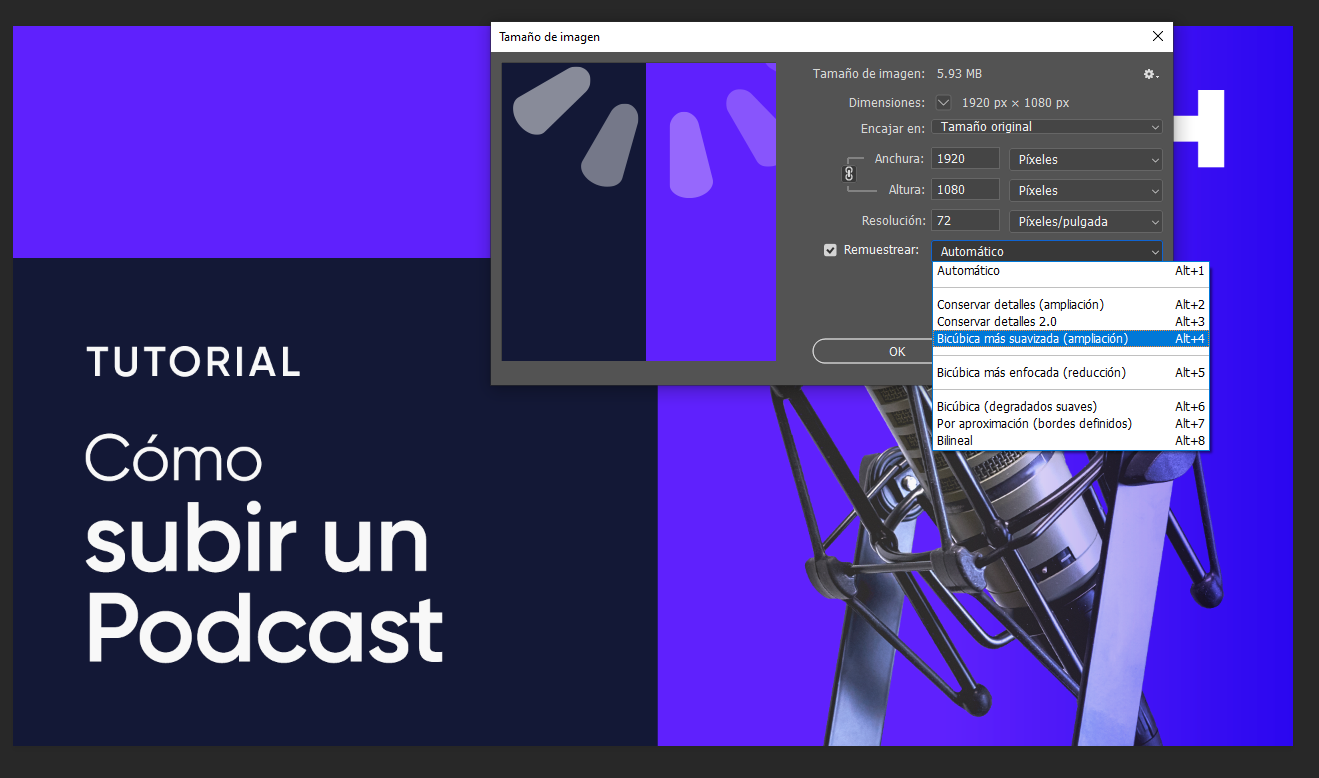
Remember not to enlarge the image to a dimension that doubles its original size as it could be pixelated. Furthermore, you can also change the resampling. Just go to the Image Size box and, in the ‘Resample’ section, select the ‘Bicubic Smoother’ option. This will help you maintain quality as much as possible.
(Image: Crehana)
Learning how to enlarge an image in Photoshop is just one of the many uses of Photoshop. With this Adobe program you can perform other functions such as cutting hair, making logos and even changing the color of an image.
To learn more about the use of this software, you can join this Adobe Photoshop CC course from scratch to become an expert in graphic design or this one in digital illustration using the Adobe program. It is important that you take into account what it is you want to know, because you could delve into other options such as making infographics or photo retouching. There are so many options!
You can also complement your Photoshop knowledge with other programs from the Adobe Suite. It will depend a lot on the type of work you want to do, if you want to work with vectors from scratch you can use Illustrator, while for video editing you can use Premiere.

Now that you know how to enlarge an image in Photoshop, keep the following tips in mind so that your composition gets the best results. They will definitely help you when changing dimensions or making other changes to your canvas.
- If you want to enlarge the image and you notice that you don’t have space, remember that you also have the option to change the dimensions of a canvas. You can do this by going to Image and then selecting Canvas Size.
- Note that you can maintain the quality and size of your original image just by duplicating the layer. Work on the copy and hide the original version in case you need it later.
- In case you are working with a background layer, remember to unlock it by clicking on the padlock that appears on the right side.
That’s all you need to know about how to enlarge an image in Photoshop! But this is only the first lesson to dive into using this powerful design tool. If you want to learn Photoshop from scratch, we recommend you review our Adobe Photoshop CC online course by publicist Fabian Moncada.
Remember that you can write to us on social networks to comment on what you would like to know in the next tutorial. Until the next article, readers!