Image by afgomez is licensed under CC BY-NC-SA 2.0
Restoring old furniture is more fashionable than ever. The trails are filled with people in search of that old grandmother’s table that nobody wants, to give it life and modernize it, adapting it to our current time. And, the eclectic decoration, one that mixes elements from different times (as we saw in this previous post) is a trend.
Here you will learn different techniques of wood restoration step by step, to update those ugly or old furniture that no longer tells you anything. Let’s go there!
Table of Contents
Pretreatment of the furniture: sanding and use of stripper
In the first place we have to treat the furniture through a series of steps, leaving it ready to express all our creativity on it.
It is important to perform this treatment very well, because it is the one that will guarantee us the best finish of our furniture.
First of all, it is essential to see that the furniture does not have woodworm (If you have strange holes or noises inside, you may have this termite.) To solve the problem, simply apply a specific anti-woodworm product.
Normally these old furniture have paint and varnish, elements that we must eliminate to apply ours. For this we will use two techniques, sanding and the use of stripper.
Sanding: we can use different sandpaper to carry out this step. If we sand by hand, it is going to be a very expensive process. To save time and make the furniture better, it is advisable to use a disc sander. You have to be very careful, because we can deform the original furniture if we go overboard. We must also sand in the direction of the grain of the wood, for a better finish. This step may be enough, depending on the surface we are treating. If it is not enough (many times there are nooks and crannies without being able to be sanded), it is convenient to use the stripper.
Use of stripper: we use chemical products (strippers) to remove paint and varnish from furniture. It is important to use gloves for the use of these products, as well as to work in a sufficiently ventilated place. We can also add a mask and protective glasses that will avoid possible irritations. There are many types of strippers. Some are removed with water (be careful, as the wood can swell) and others with sanding (A spatula is usually used to remove them). Once applied, it is vital that they do not dry out and remove them before this happens (each stripper will have an action time indicated on the container). We may have to sand again to remove possible debris.

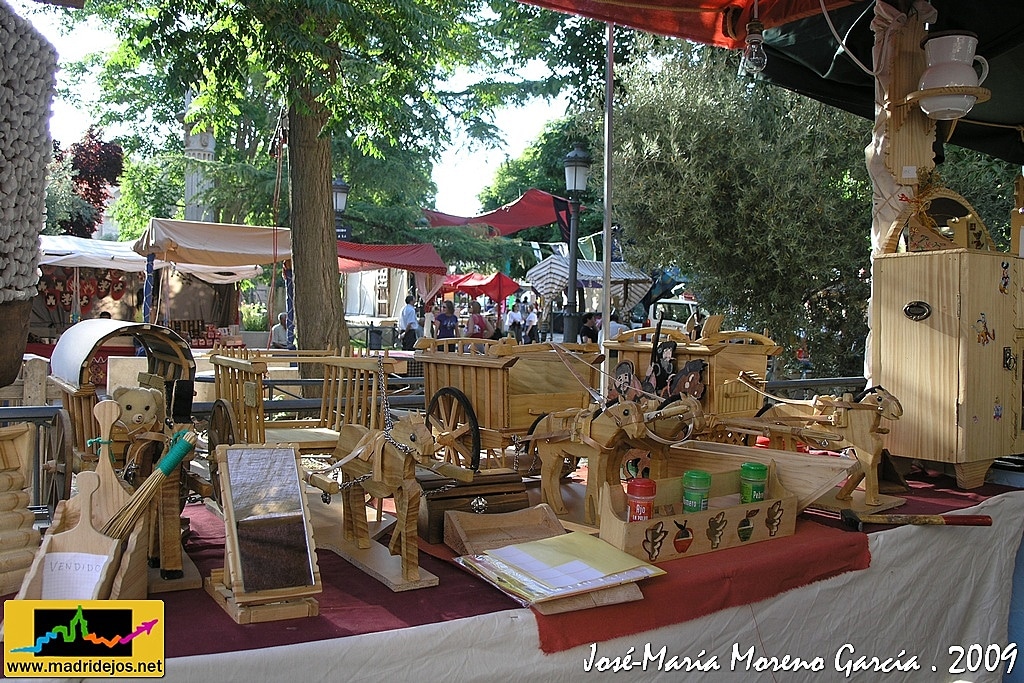
«Wood – Crafts» by JOSE-MARIA MORENO GARCIA = HUMANIST PHOTOGRAPHER is licensed under CC BY-NC-ND 2.0
Filling of pores or voids
Then, it is convenient to use a filler, to fill the holes in the wood (this is necessary if it has very large pores, which will depend on the type of wood we are treating). It is a pasty mass, which we will apply with the help of a brush and remove using a spatula.
Applying a stain sealer
Using a stain sealer will spread the stain evenly across the surface, which is not the case with many types of wood, which absorb a lot of stain and remain very dark. It is advisable to sand a little after drying, so that the wood is as uniform as possible.
Dye application
We can now apply the dye. There are dyes that are used before the filler, so we must read the instructions. The dye can be liquid (the more layers we apply, the darker the finish will be) or gel type. There are also oily base or watery.
Final finish

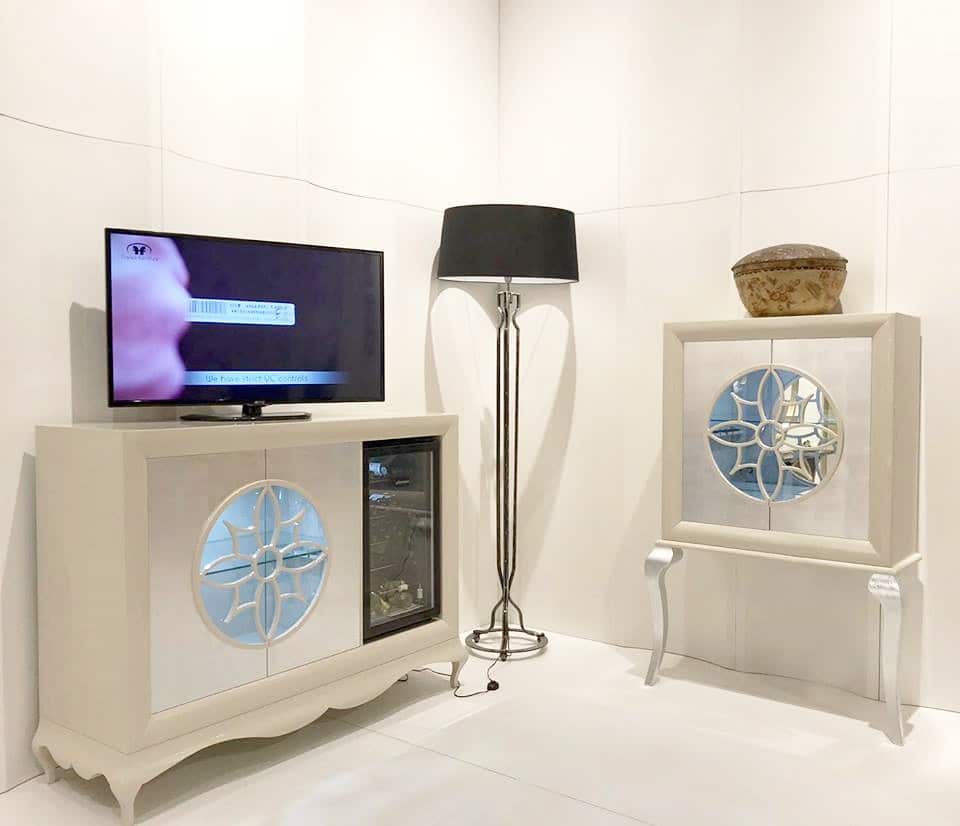
«Salone-mobile-milano-2018-franco-furniture» by Mueble de España / Furniture from Spain is licensed under CC BY-NC-SA 2.0
There are different ways to finish the furniture:
Lacquer. It should be sprayed on the furniture.
Varnish. Also called polyurethane, it must be applied in thin layers by brush.
Oil. It is ideal to easily repair future scratches, with a simple application. It does not protect as much as the other two.
After this we can use a wax, which will give our furniture more protection and a beautiful final finish.
There are also different techniques that you can use, different from dyeing or complementary: application of stickers, use of decapé …creativity in catering has no limits, what are you waiting for to start?


